Guide
DNS Setup — Spaceship
Follow these steps to update your nameservers on Spaceship so your domain points to Cloudflare.
1
Open Advanced DNS
Go to the Advanced DNS page and select the domain you'd like to update.

2
Click Change in Nameservers
In the Nameservers section, click Change.
3
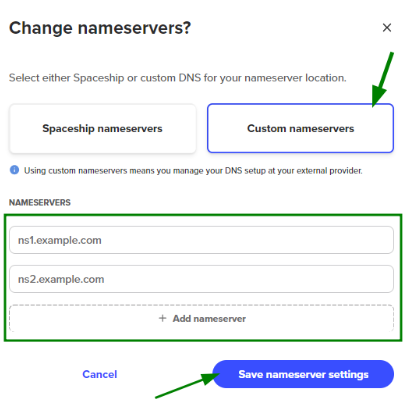
Select Custom nameservers
In the window that appears, select Custom nameservers.
4
Enter your Cloudflare nameservers
Enter the nameservers from your Cloudflare dashboard (e.g.
anna.ns.cloudflare.com and bob.ns.cloudflare.com). Click + Add nameserver if you need more entries.5
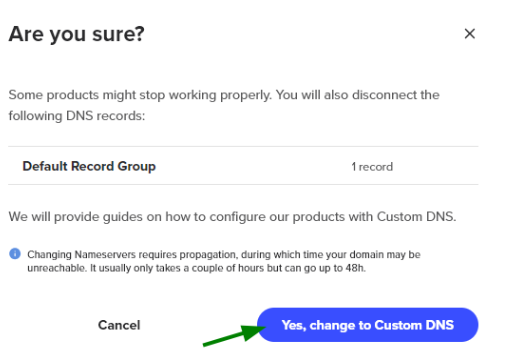
Save and confirm
Click Save nameserver settings. If prompted with a warning about active connections, click Yes, change to Custom DNS to confirm.
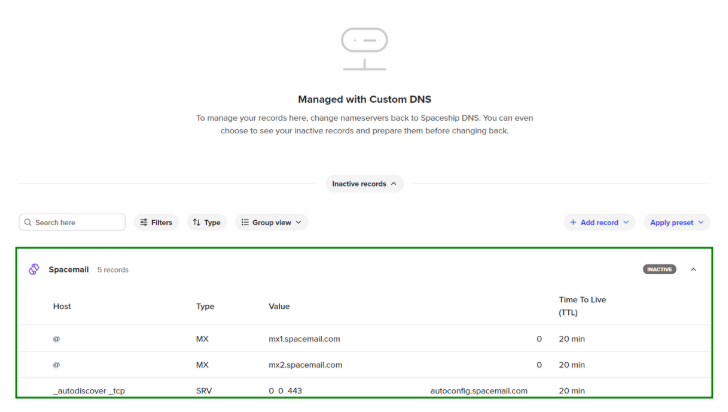
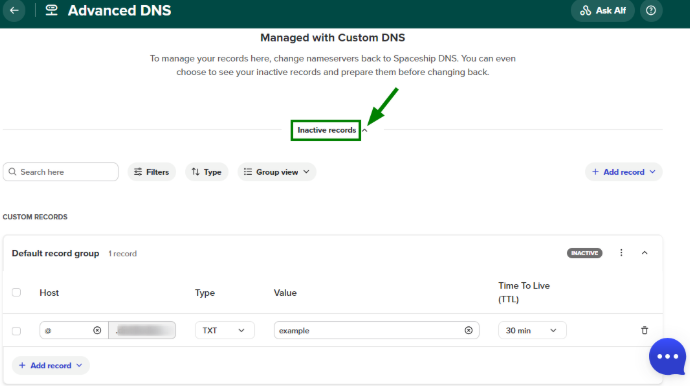
DNS propagation can take up to 48 hours. Once Cloudflare confirms the nameservers are active, your domain status on C22K will be updated to active.